How to Use BuildMyAIresume
Your complete guide to building an ATS-friendly, AI-powered resume.
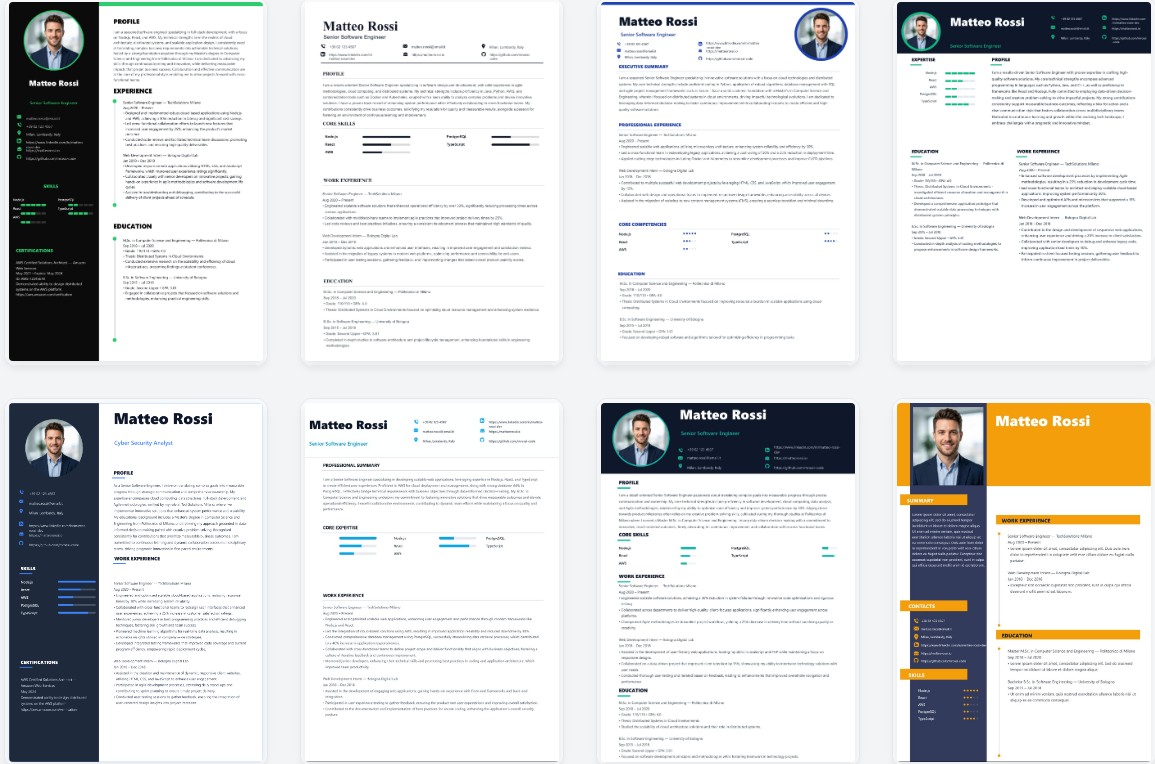
1 Choose Your Template
Start on the homepage by browsing our collection of professional templates. Click on the one that best suits your industry.
- All templates are highly structured and ATS-optimized.
- You can change your template later without losing your data.
2 Choose Content Mode
Once inside the form, choose how you want your text handled:
- Original Content: We keep your exact words untouched. Perfect if you just want to use our design features.
- AI Enhanced: Our AI will actively rewrite your bullet points to sound more professional and executive.
If you choose AI, you can pick a specific engine:
Fix & Polish (strict grammar correction), Professional Upgrade (richer vocabulary and flow), or Maximum Expansion (turns short, basic notes into highly detailed bullet points).

3 Target a Specific Job
If you selected the "AI Enhanced" mode, you can target a specific role to significantly boost your interview chances!
- Under the Targeting section, select Job-Specific.
- Paste your desired Job Title and the full Job Description.
- Write a brief sentence on Why You Fit. The AI will weave this logic directly into your professional summary and align your past experience with their required keywords!

4 Fill Mandatory Fields
Fill out your Work Experience, Education, Skills, and Contact details. Look out for fields marked with the blue required tag.
The form has a built-in validation engine to ensure you don't accidentally miss any crucial contact information before the AI goes to work.
5 The Action Bar
At the very bottom of the form, you'll find the Action Bar, which controls your data and generation:
- Download Data: Saves all your form entries to a `.json` file on your computer. You own your data!
- Upload Data: Instantly refills the form using your previously downloaded `.json` file so you never have to type it twice.
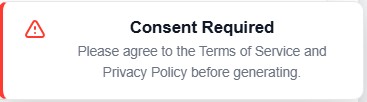
- Terms & Generate: Tick the Privacy/Terms checkbox, pass the security CAPTCHA, and hit the pulsating Generate button!
- Wait for the AI terminal to finish its tasks, then click Preview in Template to enter the Studio.

6 Mastering the Studio
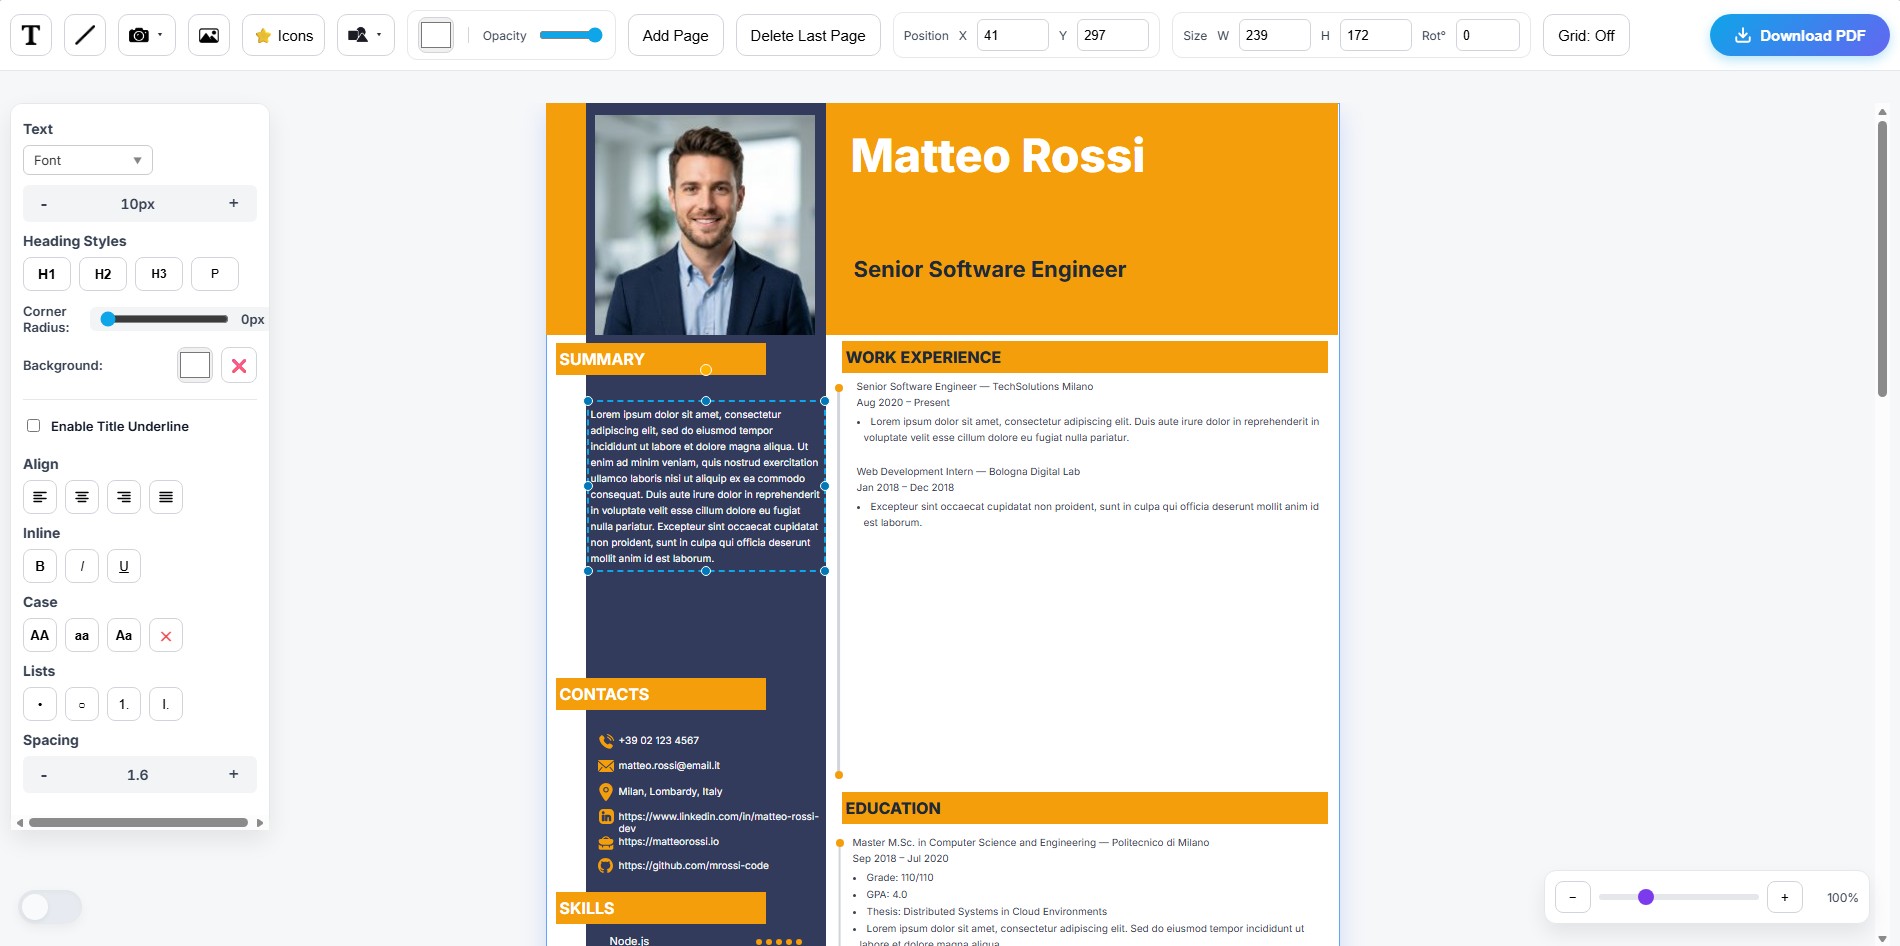
Welcome to the Studio canvas! This is a Canva-style editor where you have complete control over the final look of your resume.
- Drag & Drop Layout: Click and drag any text box, section, or line to move it around the page. You can customize the spacing perfectly.
- Live Text Editing: Need to make a quick typo fix? Double-click on any text block on the canvas to edit it natively, or use the Text Panel on the left.
- Typography Control: Highlight any text to bring up the toolbar. You can change fonts, adjust text sizes, modify colors, or align your text (Left, Center, Right).
- Icons & Graphics: Use the left sidebar to drag in fresh SVG icons (like LinkedIn, GitHub, or Phone symbols) and drop them anywhere on the page.
- Adding a Photograph: If your chosen template has a designated photo slot, look at the left sidebar for the "Photo / Avatar" upload button. Select a .JPG or .PNG image from your computer, and it will instantly populate into the resume frame.
- Final Export: When your design is perfect, click the Download PDF button at the top right. Our custom rendering engine will convert your canvas into a crisp, ATS-readable PDF document ready for applications!